Glaze a Window
Step 1: When replacing glass in a wooden window frame it is best to remove the frame from the window casing and place the frame on a level flat surface. Carefully remove the old broken glass completely.
Step 2: Scrape away all the old glazing with a glazing tool or putty knife. Use pliers to remove the old glazier points. If bare wood is exposed, prime it with an oil based primer.
Step 3: Measure the height of the window opening along each side and in the middle. Do the same for the width of the window. Choose the smaller of each of the three corresponding measurements. To be safe, minus 1/8” from the final measurements to give enough play to fit the glass into the frame without breaking it.
Step 4: Collect all the necessary supplies – glass, glazing compound, and glazier points.
Step 5: Set the new glass in the frame and push two or more glazier points into the wood along each side to hold the glass in place. If you have a glazing tool, use the tool to set your points, otherwise a flat head screw driver should do the trick.
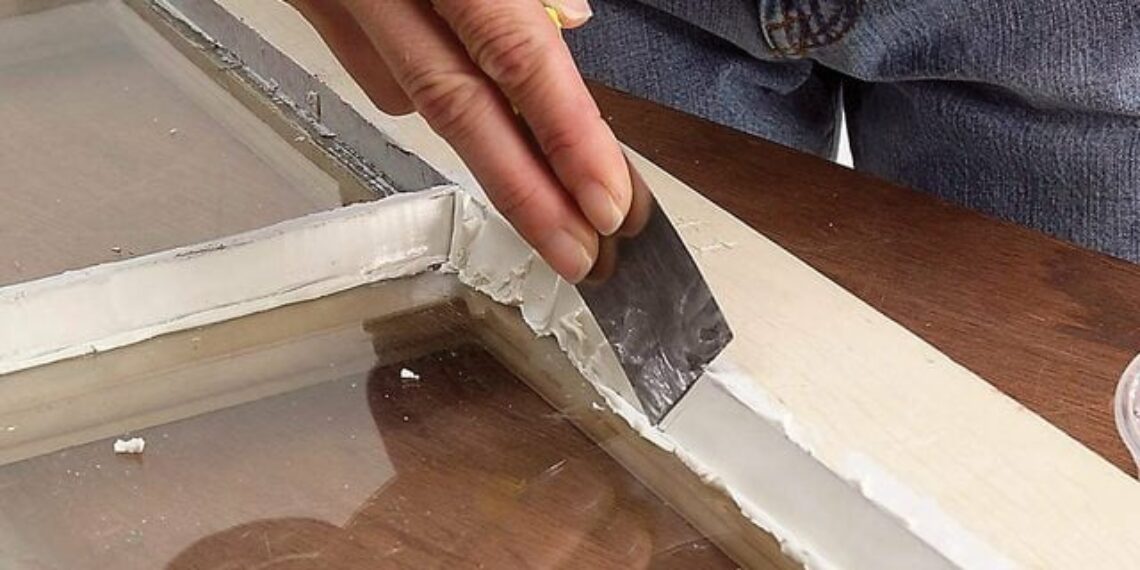
Step 6: Once the glass is in place, start knifing in the putty. Glazing compound has a very low melting point, so it should not be touched with bare hands. Use the putty knife to scoop out about a tablespoon of putty and lay it in along the frame edge inch by inch. Be careful not to have it stretch too far onto the glass or the bright white putty will be visible from the outside of the window.
Step 7: Once there is putty all the way around the frame, hold the flat edge of the putty knife or glazing tool at a 45 degree angle and smooth the putty down between the frame and glass, scrapping the excess putty back into the container.
Step 8: Wipe away any remaining putty on the glass, wash the window and let the putty set up before reinstalling the window into the casing.
